Saturday 29 November 2014

CREATING THE MAST STEP
 (the mast sits on this in the bottom of the boat.)

Shipwright Dave decided to let apprentice Dave experience working with an adze.After suitable instruction he began shaping the mast step.
On this particular Wednesday, at least 3 retired shipwrights saw Dave working and came to reminisce about their time in ship building in Liverpool, Devon and Tyneside.
All described it as the main tool of their trade.
Upon completion of the task ,Dave successfully counted to 10 while observing his toes.

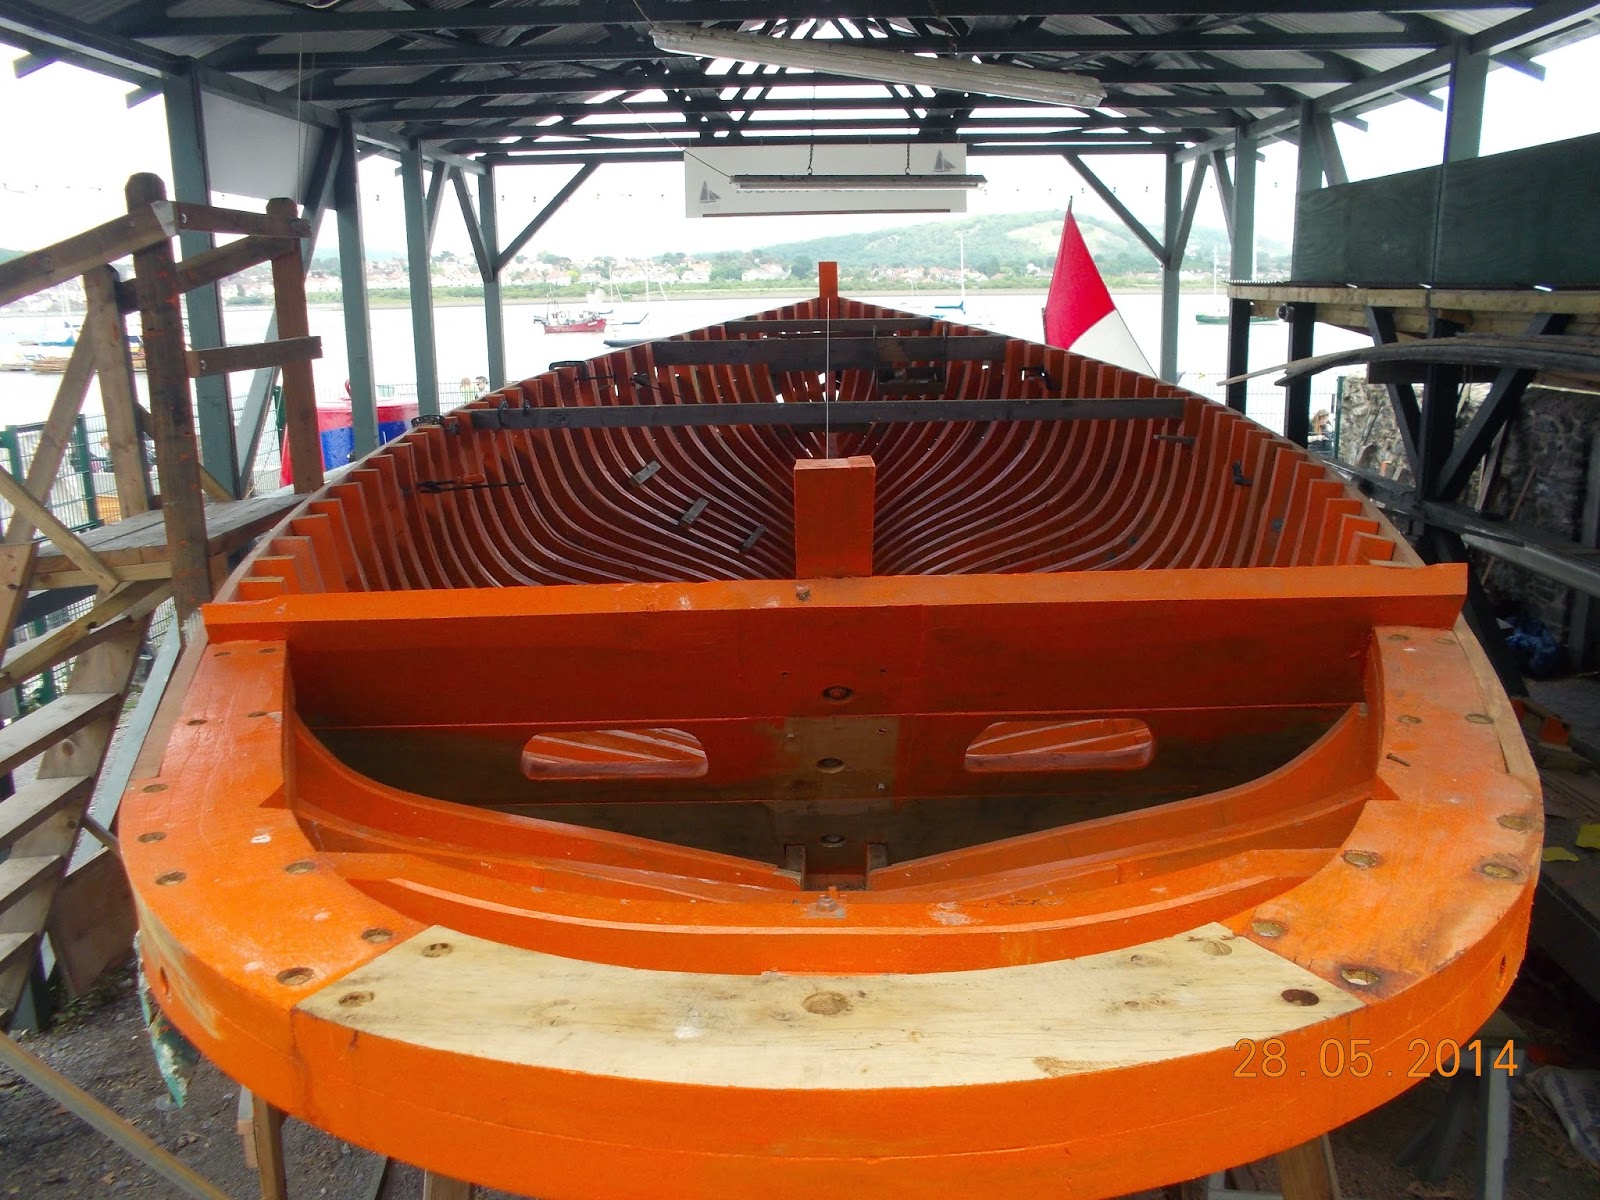
Meanwhile shipwright Dave cut and welded these brackets to add extra support in the stern (left) and the bow right). They will be galvanized before final fitting.

THE BREAST HOOK IS ADDED and the saw broke !


Dave ,the apprentice,made and fitted the breast hook at the bow (front ). This gives extra strength to the bow. We waited several weeks while Adrian the mill owner found a suitable fork in an oak tree and cut it into a usable slab .


 Dave the shipwright began work on making the first beam shelf.This shelf forms the base for the deck beams to sit on .Having made a pattern in ply, he transferred the data to an oak slab and cut out the curve of the sheer clamp. The photos show the first fitting.Dave then tweeked the beam where necessary.Notice that he has not yet cut the inside of the beam and the bark is clearly visible.
The photo on the left shows the first beam shelf bolted in place and the  deck beam pattern seated on it.
A deck beam to hold up the deck planks is placed and fitted on the beam shelf
The second deck beam is now set in position 
A SPECIAL DONATION 
On Wednesday 12th of November , disaster struck as our electric circular hand saw finally broke down with that terrible smell of burning plastic! As we stood by the fence facing the quay,a  "Friend of Helen II "  , Pat N from near Conwy marina came to look at progress.She heard our debating as to the type of replacement saw we could afford.
Although an expensive replacement was desirable, we felt we would have to settle for a cheaper version even though the cutting tasks were demanding.
Pat N then walked away as discussions continued. About 10 minutes later she returned and passed an envelope through the fence to shipwright Dave and then she left........
When Dave opened the envelope a note simply said  "a donation towards your new saw."
We were all taken aback with the generous amount given. We all just want to say a big thank you to Pat and let her know that we were then able to buy an excellent new circular saw which is superb !!!!!
You made our day.......


Thursday 27 November 2014

A TWO PRONGED APPROACH September. 2014
Having reached the fifth plank,Dave the shipwright decided to stop the planking as we now needed to begin planking from the keel (bottom) up.By doing this the last and final plank would be fitted in a easy to get at position.This final one is called the stop plank.
In order to begin working from the keel up ,it was considered desirable to have larch slabs of approximately 26 foot. This means that there will not be a join in this important position. At present we were making planks from 20 foot slabs of wood.Each full plank run from stem (front) to stern (back) could be made of 3 sections .The reason being that all the plank joins could not occur on the same frame (rib) as this would create a very weak area in the boat's structure. Each join was positioned three frames away from the join  above. Any join was then strengthened by a block placed behind the join and secured with 6 stainless steel bolts.

In order to cut these extra long slabs of larch, Adrian ,at Elwy Wood Welsh Timber saw mill, had to extend his saw rail by 10 feet. The purchase and construction of this bit of kit , and the necessary extension to his milling shed has taken some time. Sheds don't grow on trees.........  
  although Adria's did !
 His shed remains a work of art.
.
While we waited for first delivery of the longer length slabs, work began on the inside of the boat.

The first internal plank is called the sheer clamp and this lies parallel to the sheer plank (topmost plank ) on the outside.This provides added strength and a fixing point for work to begin on the decks.The picture on the left shows the first part of this sheer clamp being "G clamped" into position.Once the Daves (shipwright and apprentice ) were happy with the line and height of it , it was secured and the next portion added.
The art of head rocking to port and starboard ,squinting and muttering while looking at a plank's position was duly passed from master to apprentice.( In other mammals this looks like a mating ritual )


The photo on the right shows both sheer clamps in place.

We were all excited at this point and celebrated  with a Wednesday Phil special...... Tea with fresh milk.

Tuesday 25 November 2014

MAKING A PLANK FOR HELEN II
First a baton (bendy piece of wood ) is fixed to the hull to show where the bottom of the new plank is to fit.It is then adjusted to make a fair line( smooth curve )
Dave achieves this by tilting his head left (port) then right (starboard) with suitable chanting !


A strip of ply is fitted into the plank space and tacked with nails (it doesn't need to be a good fit but it should not touch either side.)


Dave then slides a block along the top plank and marks the lower edge of his block onto the ply.
He then does the same along the baton below, marking it on to the ply.
This shows the space from these drawn lines to the edge of the new plank.


Dave takes the ply strip and tacks it to the chosen tree plank.
Then he slides  the block along the lines he drew on the ply before and carefully draws along the opposite side of the block.
This gives an exact copy of the space the plank will fit in !


Dave, the apprentice , cuts along the drawn lines to create the rough plank. (it keeps him busy and he always emerges smiling.)

This is then put through the planer and a small angle added to the top and bottom of the plank to allow for caulking later.

This is then clamped tight against the frames (ribs) and also the plank above .Pilot holes are drilled in the plank to the frames and nails hammered home for a tight fit.
( This gives Dave even more to do !)

The clamps are removed and the job complete.......


I now use this technique for making templates around the house.My wife is amazed and now I have more work to do !!!!!!!!


Thursday 20 November 2014

AND NOW WE BEGIN ON THE PLANKING
Much discussion took place regarding the exact position of the sheer plank (the topmost one ). This gives the boat its shape above the water line and its gentle lines. I soon found this to be an artistic positioning rather than a mathematical one.Everyone and his dog had a view ( The quay factor ).
The two Daves spent a great deal of time perched on litter bins ,walls and ladders, much to the consternation of visitors,discussing a half inch rise or fall in the middle of the plank from a distance of 50 meters.
A Japanese gentleman took several pictures of Dave S. on a litter bin as he thought he was an "art form ".

Once we had fixed the sheer plank, the next job was the rubbing strake.(also painted grey ). This was a rounded piece of oak in 20 foot sections which is the first point of contact with quay walls etc.as it sticks out the furthest on the boat's side.
To bend this into place,Dave S clamped the front end of the wood to the frames (ribs ).Then Phil put the beam across his chest and hauled it in towards  the aft (rear ) frames .Dave clamped the bent bit to the next frame and we progressed along the beam's length. At the end Dave drew in the final bend with clamps and Phil found his  knuckles now dragging along the ground.
This is the only piece of oak that we have physically bent!........so far.

DAVID LOW JOINED THE TEAM AS APPRENTICE 
 MAY 2014
Dave came direct from Llandrillo College where he continues his course in marine design.He came highly recommended. He represented Llandrillo College at the Boat Show 2014 demonstrating shaping masts and spars ( big sticks!)
 
He was funded by a grant from The Pilgrims Trust which supports young people entering into boat building /design work.
He was especially welcomed by me as his name is also Dave and that makes it easy to remember at my age.
Dave cannot make tea nor resist humus ( which is defined as " decayed vegetable and animal mould" in Collins dictionary.) or was it hummus ?  I knew he must have a down side !
He is working hard on developing his skills and sense of humour.

Wednesday 19 November 2014

MAY 2014 THE BOAT SHOW
OUR FIRST CHANCE TO SHOW OFF !
The trustees decided to have  fund raising open days,  during the boat show, to raise badly needed funds. HELEN II was in her finery.....


Is this a piece of art or what ?


Two of our trustees  MURRAY (the carver and knot wizard) and  ALLAN  Principal Property Development Officer ,Conwy Council, prepare to welcome our first visitors..
Murray (left ) wows an audience with carving displays and tales of nautical adventures.( well he fascinates me !)
Allan (right )  explains the aims, objectives and funding of the project and the part the council plays in supporting the work.


Wednesday Phil finalises our funding sponsor signs and shows visitors around and inside the boat. To the left is Scott our young volunteer who comes to help during his school holidays.I think that is brilliant !
Dave, the shipwright, sits  quietly preparing his talks on construction techniques with a certain sense of pride I suspect.
We opened for the three days of the boat show with all the team giving freely of their time.


The visitors were all very enthusiastic and impressed with the project.Many became "Friends of Helen II"and were very generous with donations.Due to the success of the days ,we decided that we would open again for Conwy Quay Day and Murray would take the lead in fund collection  once we could curb his nautical tale telling, which held everyone entranced.(but what a boost to the coffers!)
Tony our retired harbour master and trustee certainly got a lot from the day.

Tony informed the trustees that we raised 300 plus pounds  during the boat show .
BUT we still need a lot more to continue the work...
SO if you should pass the Helen II project and see the red buoy by the fence, please make a donation.


FEB. 2014 saw the arrival of our new shipwright
 DAVE SATTERTHWAITE
We quickly sorted out the pecking order and division of duties....


Dave, with a superb hair cut, got to work with the tools and Wednesday Phil got to work with the kettle.


The work on the frames (ribs) then continued as did the supply of tea and coffee.
SO HOW DO WE MAKE A NEW FRAME ?
First a wooden chain is laid along the boat's side and bent to the exact shape of the hull.


The chain is then drawn on to ply wood to give the hull shape and it is then cut out to form a TEMPLATE for the next stage.


Then a plank of English /Welsh oak needs to be found with the grain following the curves of the TEMPLATE. This is then cut out and fine adjustments made to make the frame a perfect fit.

These are some of the green ( unseasoned /wet ) slabs of oak chosen for their bendy shapes and supplied by Adrian from his saw mill (see below ) They may be slices of the tree's trunk or from branches.


The progress continues during 2013.
The process of frame (rib ) replacement continued through most of the year with many  visitors suggesting little was happening as nothing new was visible !

 At the time, we could not allow the public in to see the progress that was secretly going on within the hull.

The frames were then painted with red lead to stop any rot and this helps to seal the wood to lower the effect of water loss / absorbtion.
I
think !


Guess who got to mix red lead and putty to seal joints ? What a job !